

Coffee is a favorite drink for many people, especially in the morning. When you go camping, you want to enjoy fresh coffee too. A camping coffee percolator is a simple tool that helps you make coffee outdoors. But how do you use it? This guide will explain the steps clearly. You will learn how to make tasty coffee using a percolator. Let’s start!
What Is a Camping Coffee Percolator?
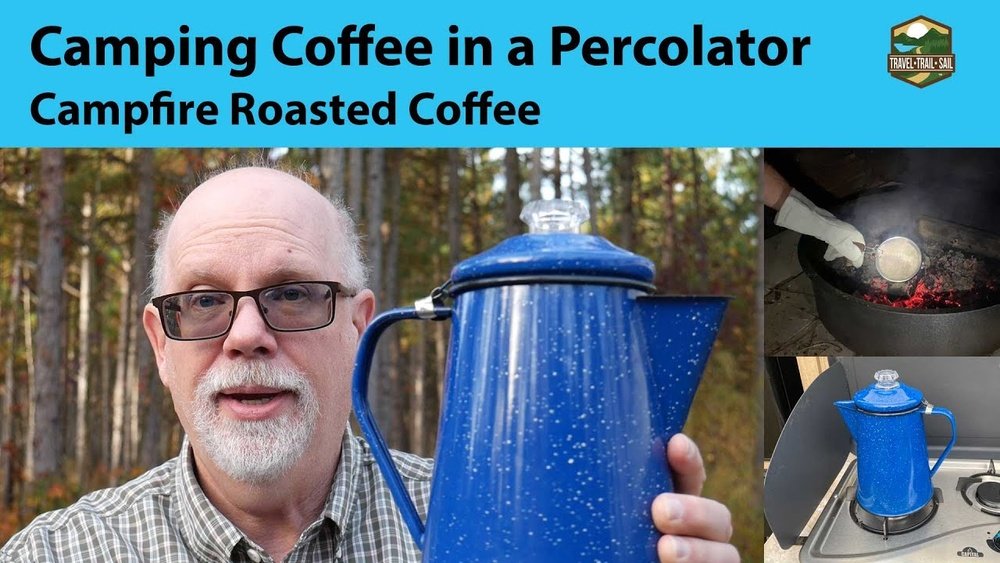
A camping coffee percolator is a special pot. It is made for brewing coffee over a fire or stove. It looks like a small metal pot with a lid and a handle. Inside, there is a tube and a basket. The basket holds the coffee grounds. The tube helps the hot water move up and down to make coffee.
Many campers like percolators because they are easy to use. You do not need electricity or fancy machines. Just heat water and let the percolator do the work.
What You Need Before Brewing Coffee
Before you start, you need a few things:
- Coffee percolator pot
- Fresh water
- Ground coffee
- Heat source (campfire, camping stove, or burner)
- Measuring spoon or cup
- Fireproof gloves (optional but helpful)
Make sure your coffee grounds are medium to coarse. Very fine grounds can make coffee bitter or clog the basket.
Step 1: Prepare the Percolator
First, open the lid of the percolator. Take out the coffee basket. Pour fresh water into the bottom chamber. Use the right amount of water for how many cups you want. Many percolators have marks inside to show water levels.
Do not fill more than the maximum level. Too much water can make a mess or weak coffee.
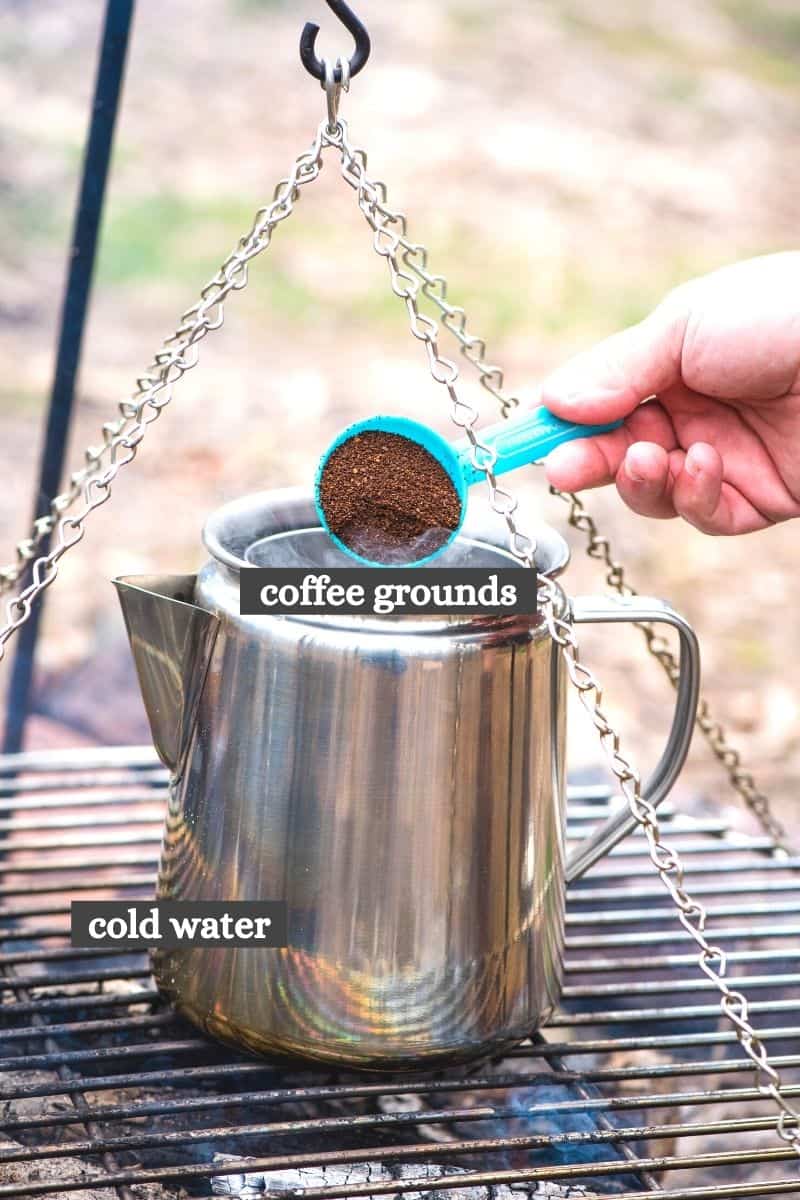
Step 2: Add Coffee Grounds
Next, put the coffee basket back in place. Add coffee grounds to the basket. Use about one tablespoon of coffee for every cup of water. You can adjust this if you like stronger or lighter coffee.
Do not pack the coffee too tightly. Leave it loose so water can flow through easily.
Step 3: Close the Lid and Heat
Put the lid back on the percolator. Make sure it fits tightly. Place the percolator on your heat source. If you use a campfire, put it on a grill or stable place above the fire. If you use a camping stove, place it directly on the burner.
Turn on the heat to medium. You want the water to boil slowly. If the heat is too high, the coffee can taste burnt.
Credit: adventuresofmel.com

Credit: cafely.com
Step 4: Watch the Percolation
As water heats, it will move up the tube and drip over the coffee grounds. This process is called percolation. You will see bubbles or hear a soft gurgling sound. Some percolators have a clear knob on top. You can see the coffee color through it.
When the coffee color is dark and rich, it is ready. This usually takes 5 to 10 minutes.
Step 5: Remove from Heat
Once the coffee is ready, take the percolator off the heat. Use fireproof gloves to avoid burns. Let the coffee sit for a minute to settle. Do not open the lid right away. It will be very hot and steam can burn your hand.
Step 6: Pour and Enjoy
After waiting, open the lid carefully. Pour the coffee into your cup. Be gentle to avoid spills. Now, enjoy your fresh camping coffee! You can add sugar or milk if you like. Remember, coffee tastes best when fresh and warm.
Tips for Better Coffee with a Percolator
- Use fresh, cold water for the best taste.
- Choose medium to coarse coffee grounds.
- Do not overfill the water chamber.
- Keep heat medium to avoid burning coffee.
- Clean your percolator after each use to stop old flavors.
- If coffee is too strong, add hot water to your cup.
Cleaning Your Camping Coffee Percolator
After your coffee time, it is important to clean the percolator. This keeps it working well and stops bad smells. Here is how to clean it:
- Let the percolator cool down.
- Take out the coffee basket and tube.
- Wash all parts with warm, soapy water.
- Use a soft brush to clean hard-to-reach spots.
- Rinse well with clean water.
- Dry all parts before storing.
Do not use strong chemicals or scrubbers. They can damage the pot.
Why Use a Camping Coffee Percolator?
A camping coffee percolator is simple and easy to use. It works without electricity. You can make coffee over any heat source. It is also durable and lasts many years. Percolators help you enjoy coffee outdoors, just like at home.
Many people like the strong flavor of percolated coffee. It is a different taste than drip or instant coffee. If you enjoy coffee while camping, a percolator is a good choice.
Common Mistakes to Avoid
- Using too much coffee or water.
- Using very fine coffee grounds.
- Boiling water too fast or too long.
- Not cleaning the percolator after use.
- Opening the lid while brewing.
These mistakes can make your coffee bitter, weak, or dirty tasting. Follow the steps carefully for best results.
Summary Table: Steps to Use a Camping Coffee Percolator
| Step | What to Do |
|---|---|
| 1 | Fill bottom chamber with fresh water. |
| 2 | Add coffee grounds to basket. |
| 3 | Close lid tightly. |
| 4 | Place percolator on medium heat. |
| 5 | Watch coffee color change (5-10 minutes). |
| 6 | Remove from heat and wait a minute. |
| 7 | Pour coffee and enjoy. |
Final Thoughts
Using a camping coffee percolator is easy and fun. With a little practice, you will make great coffee every time. Remember to keep the steps simple. Use fresh water and good coffee. Heat slowly and watch the process. Clean your percolator after use. Soon, you will enjoy warm coffee in the great outdoors.
Next time you go camping, bring your percolator. It will help you start the day with fresh coffee. Happy camping and happy brewing!
Frequently Asked Questions
How Do You Prepare A Camping Coffee Percolator?
Fill the bottom chamber with water, add coffee grounds to the basket, then assemble the percolator.
How Long Does Brewing Coffee Take In A Percolator?
Brewing usually takes about 5 to 10 minutes depending on heat and water amount.
Can You Use Ground Coffee In A Camping Percolator?
Yes, use medium to coarse ground coffee for the best flavor and less sediment.
What Type Of Heat Source Works For A Coffee Percolator?
Campfires, portable stoves, or any steady heat source can be used for brewing.
When you purchase a product through Amazon links on widgetygoodness.com, we may earn a commission at no extra cost to you. This helps support the site and keep our content free. As an Amazon Associate, I earn from qualifying purchases.